16. December 2012
Hendrik
Hardware
First of all here is a great YouTube video of how to this but the quality is a bit poor so I made a few pictures to clarify each step.
The first step is obviously to remove the battery, then remove this little screw and push the two clips down in the marked direction:

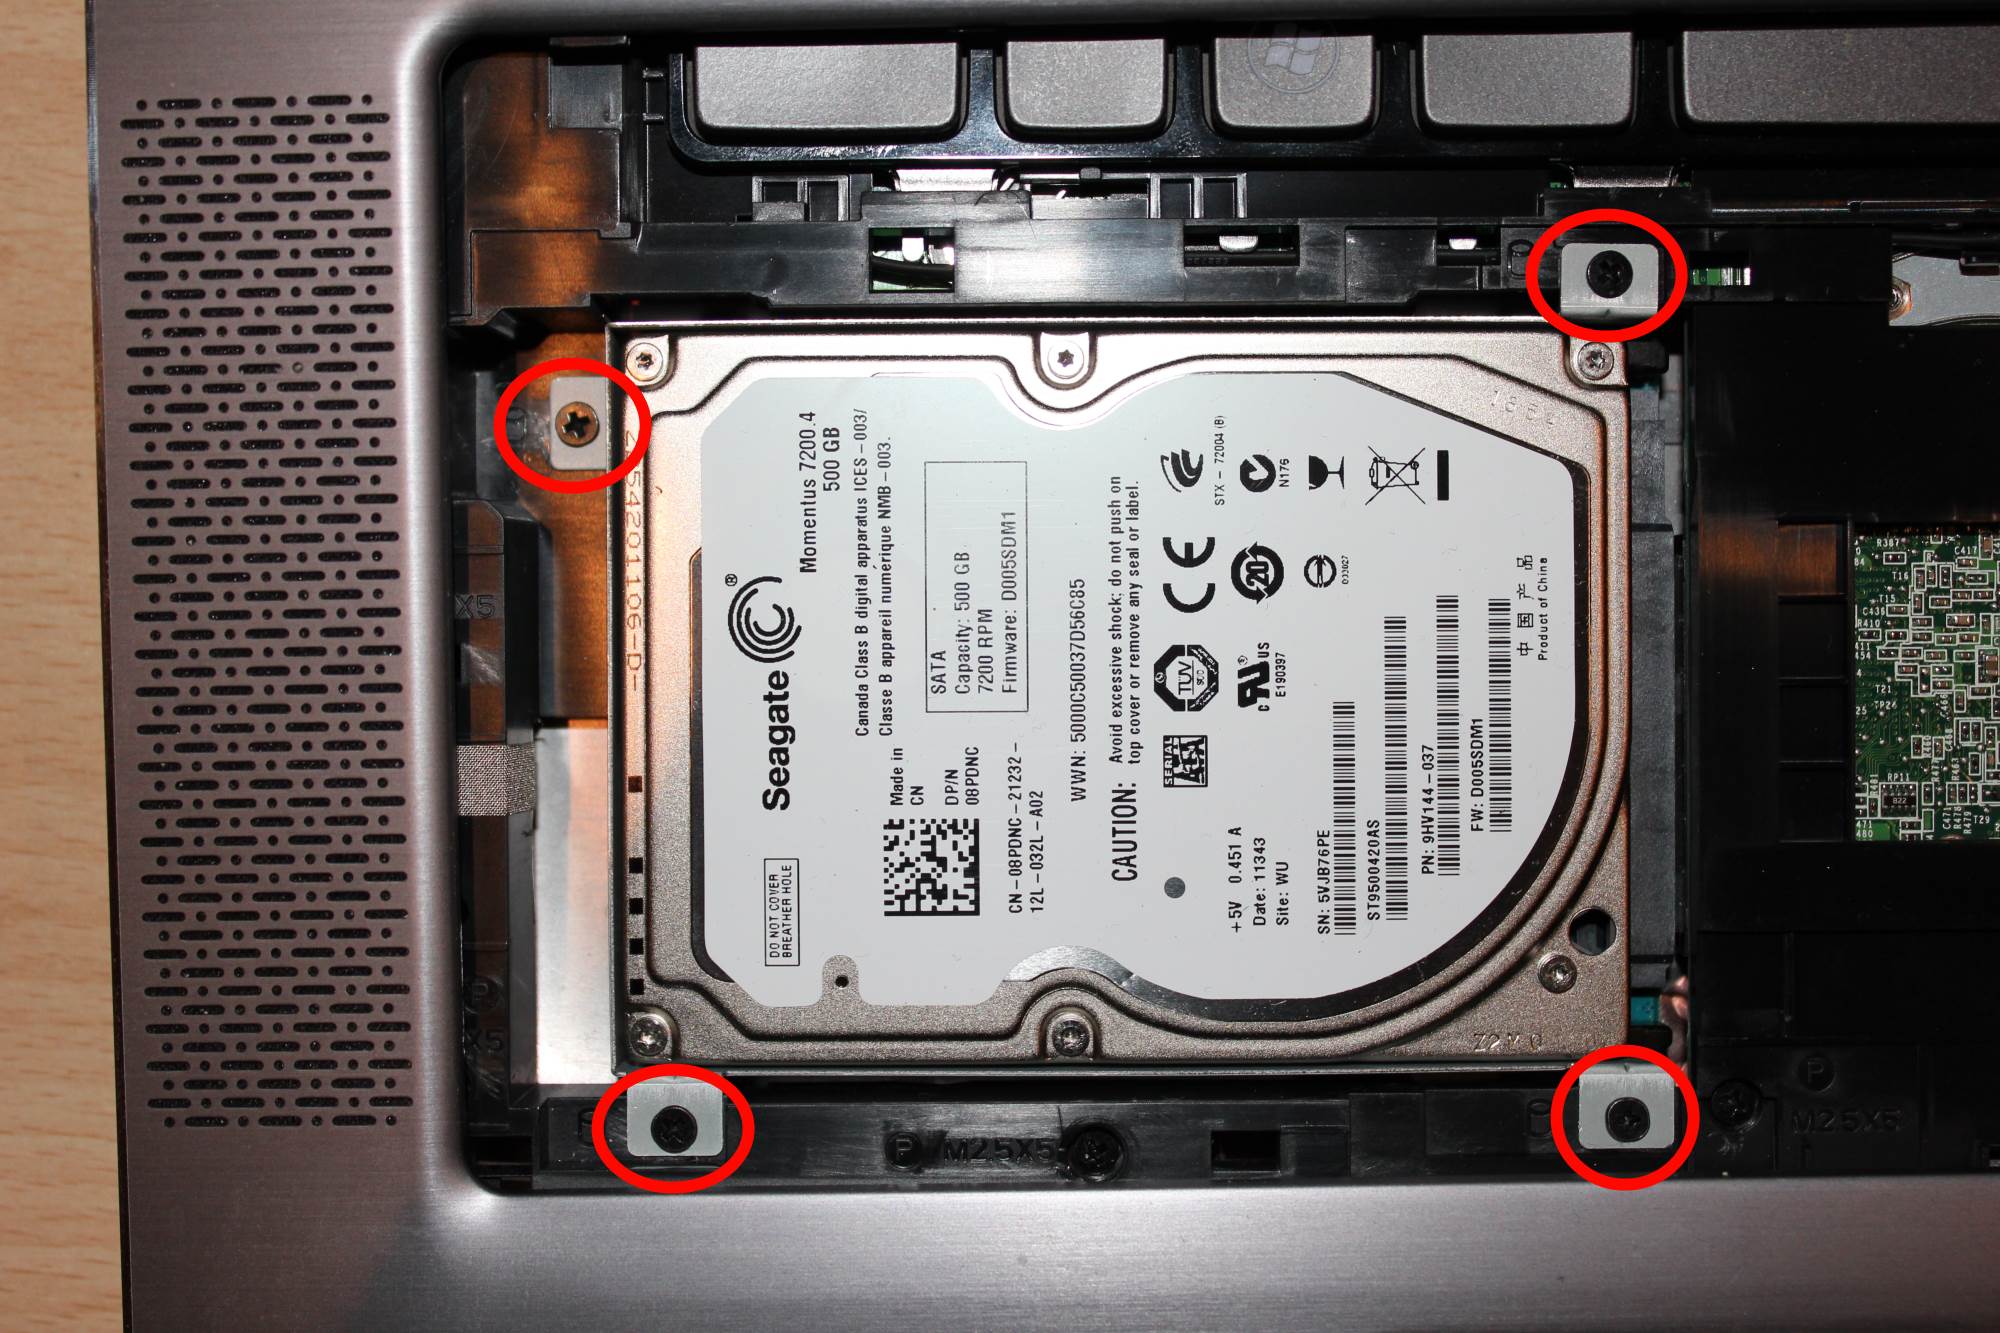
When you removed the palmrest like described in the video you have the remove the 4 marked screw to access the HDD case:

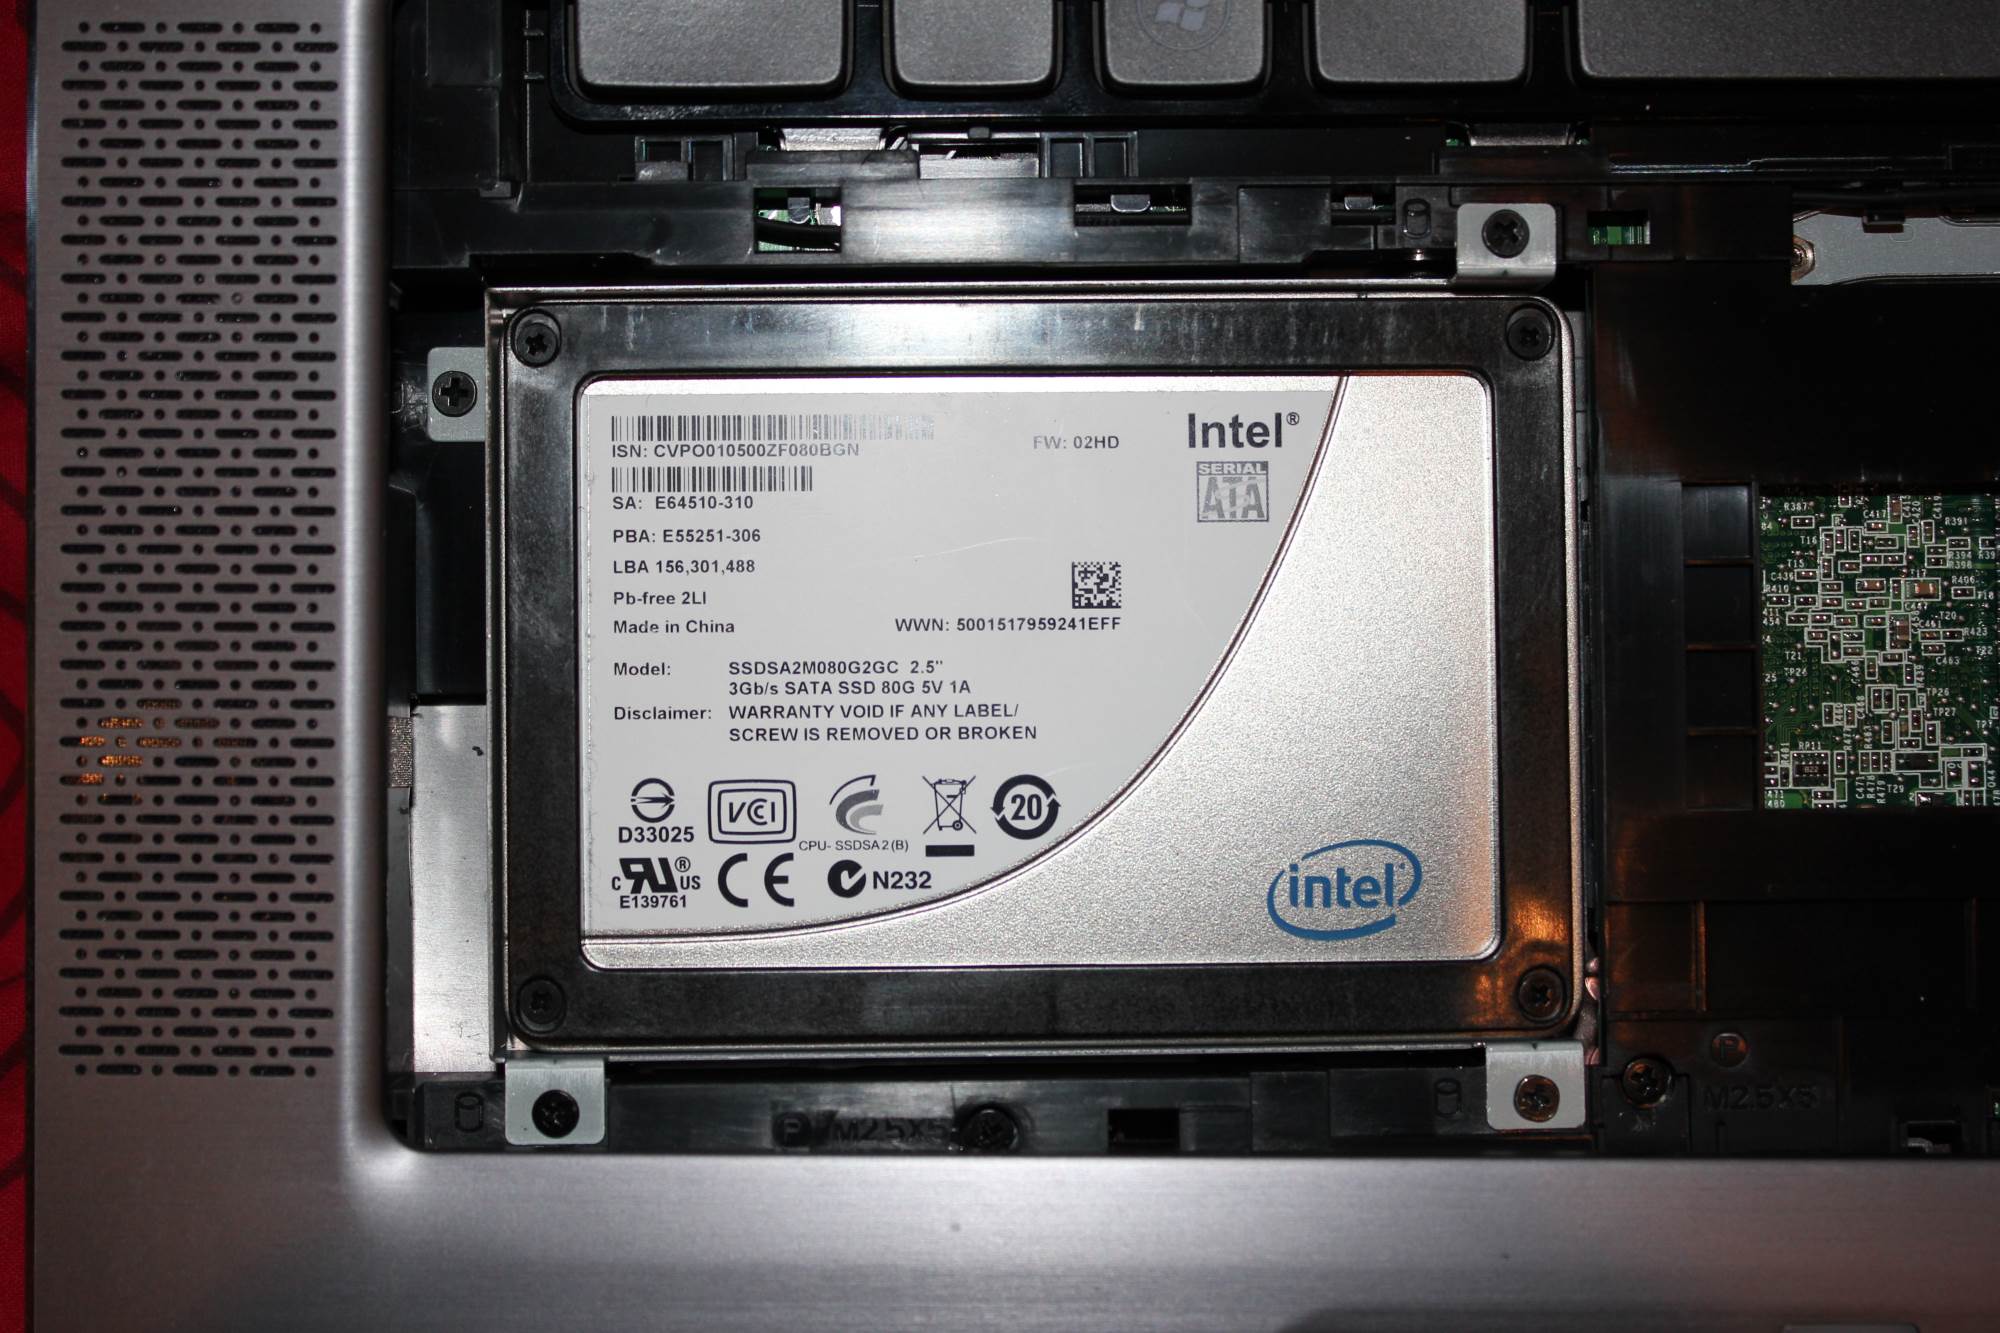
Now we need the remove this two screws on each side of the case, then you can place in your new SSD/HDD:

My old 80GB Intel SDD fits perfectly...

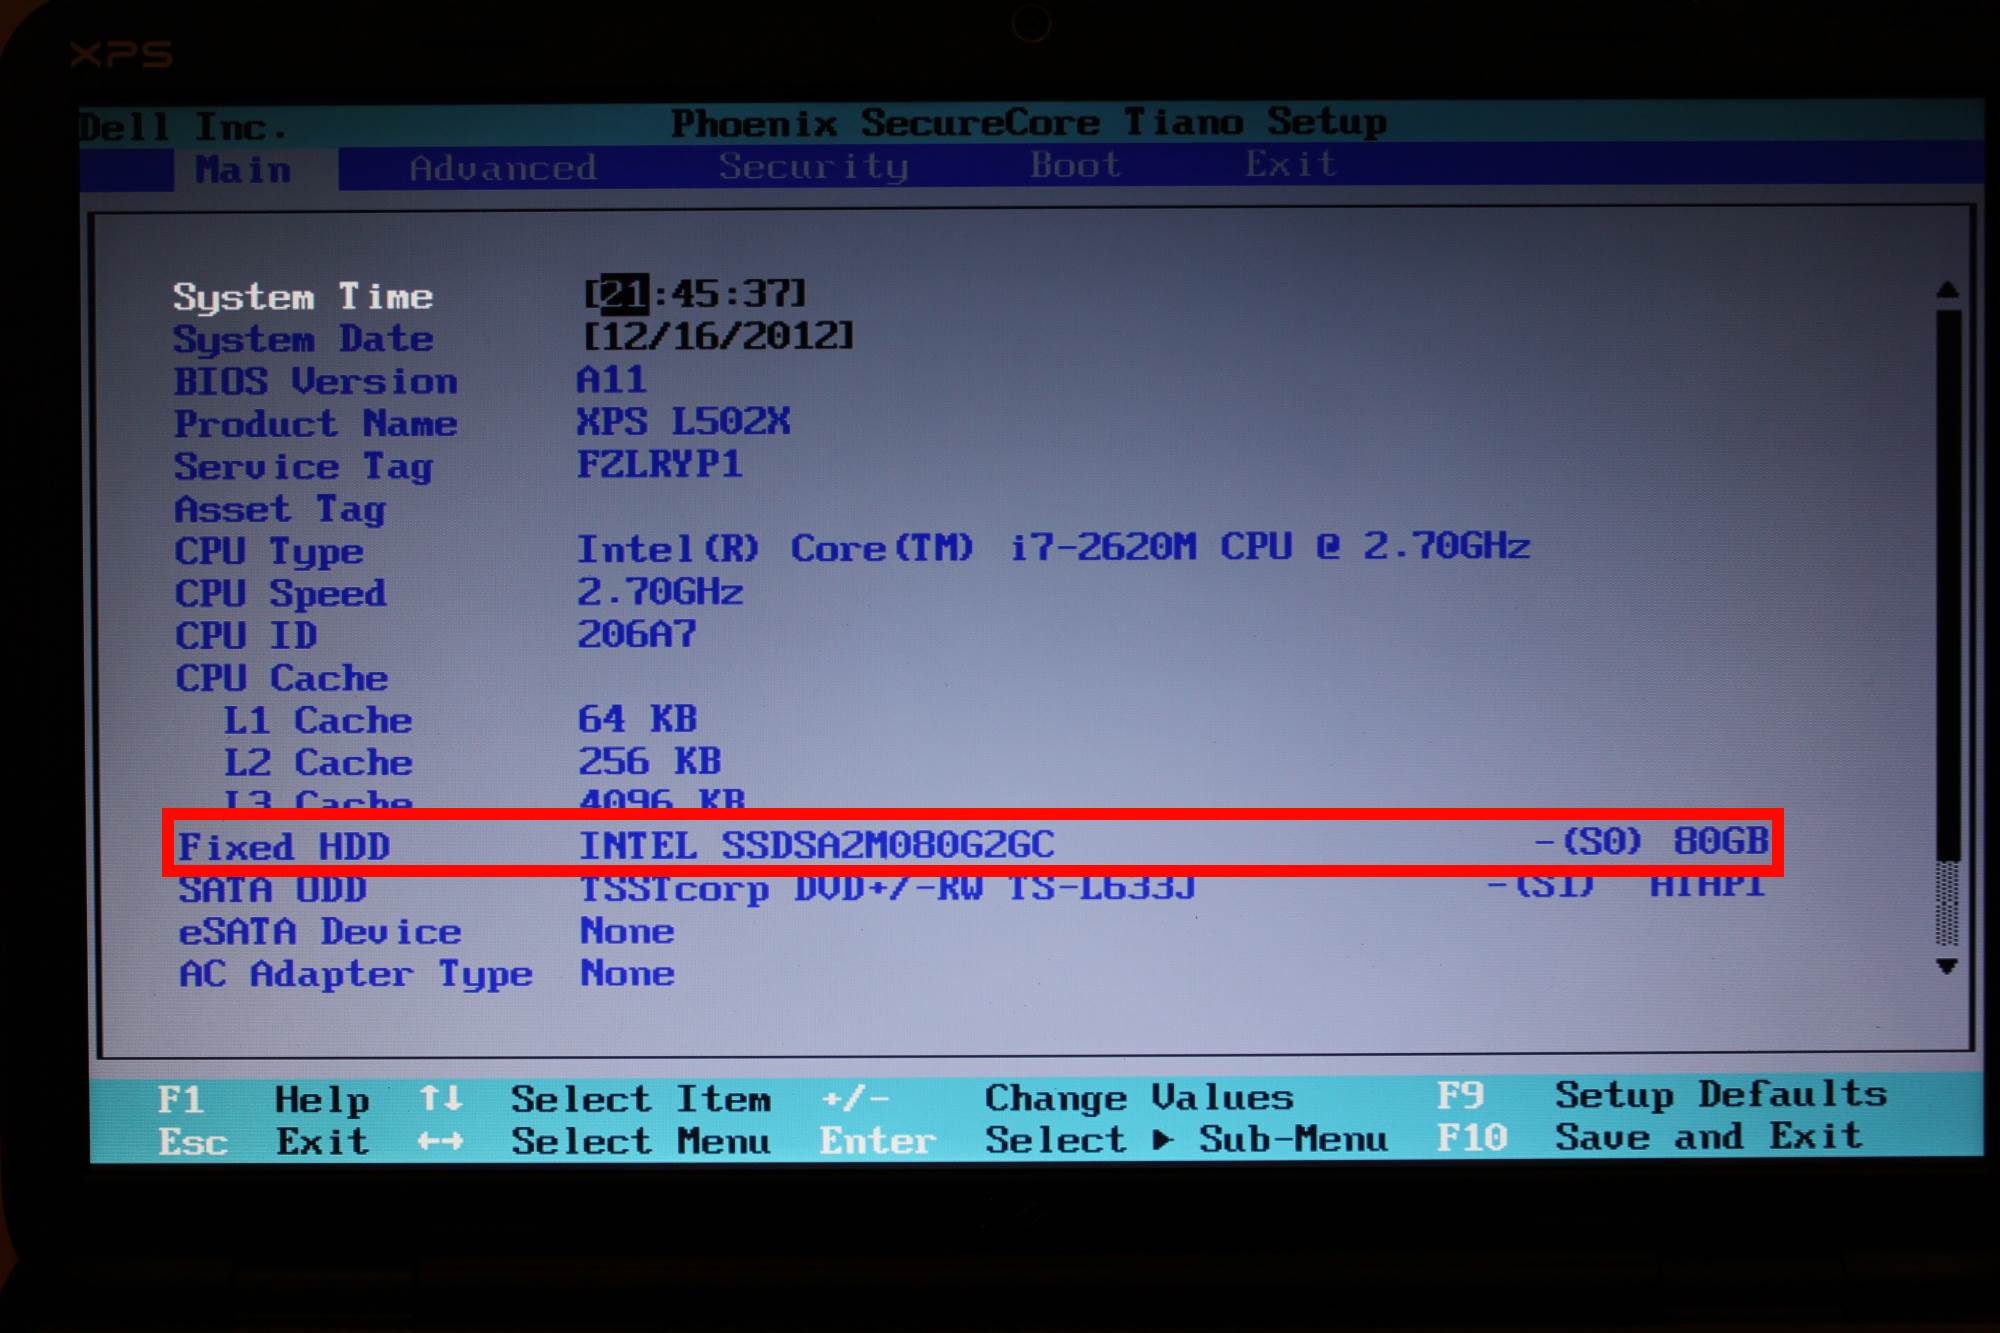
...and is detected correctly by the BIOS:

Easy... isn't it?